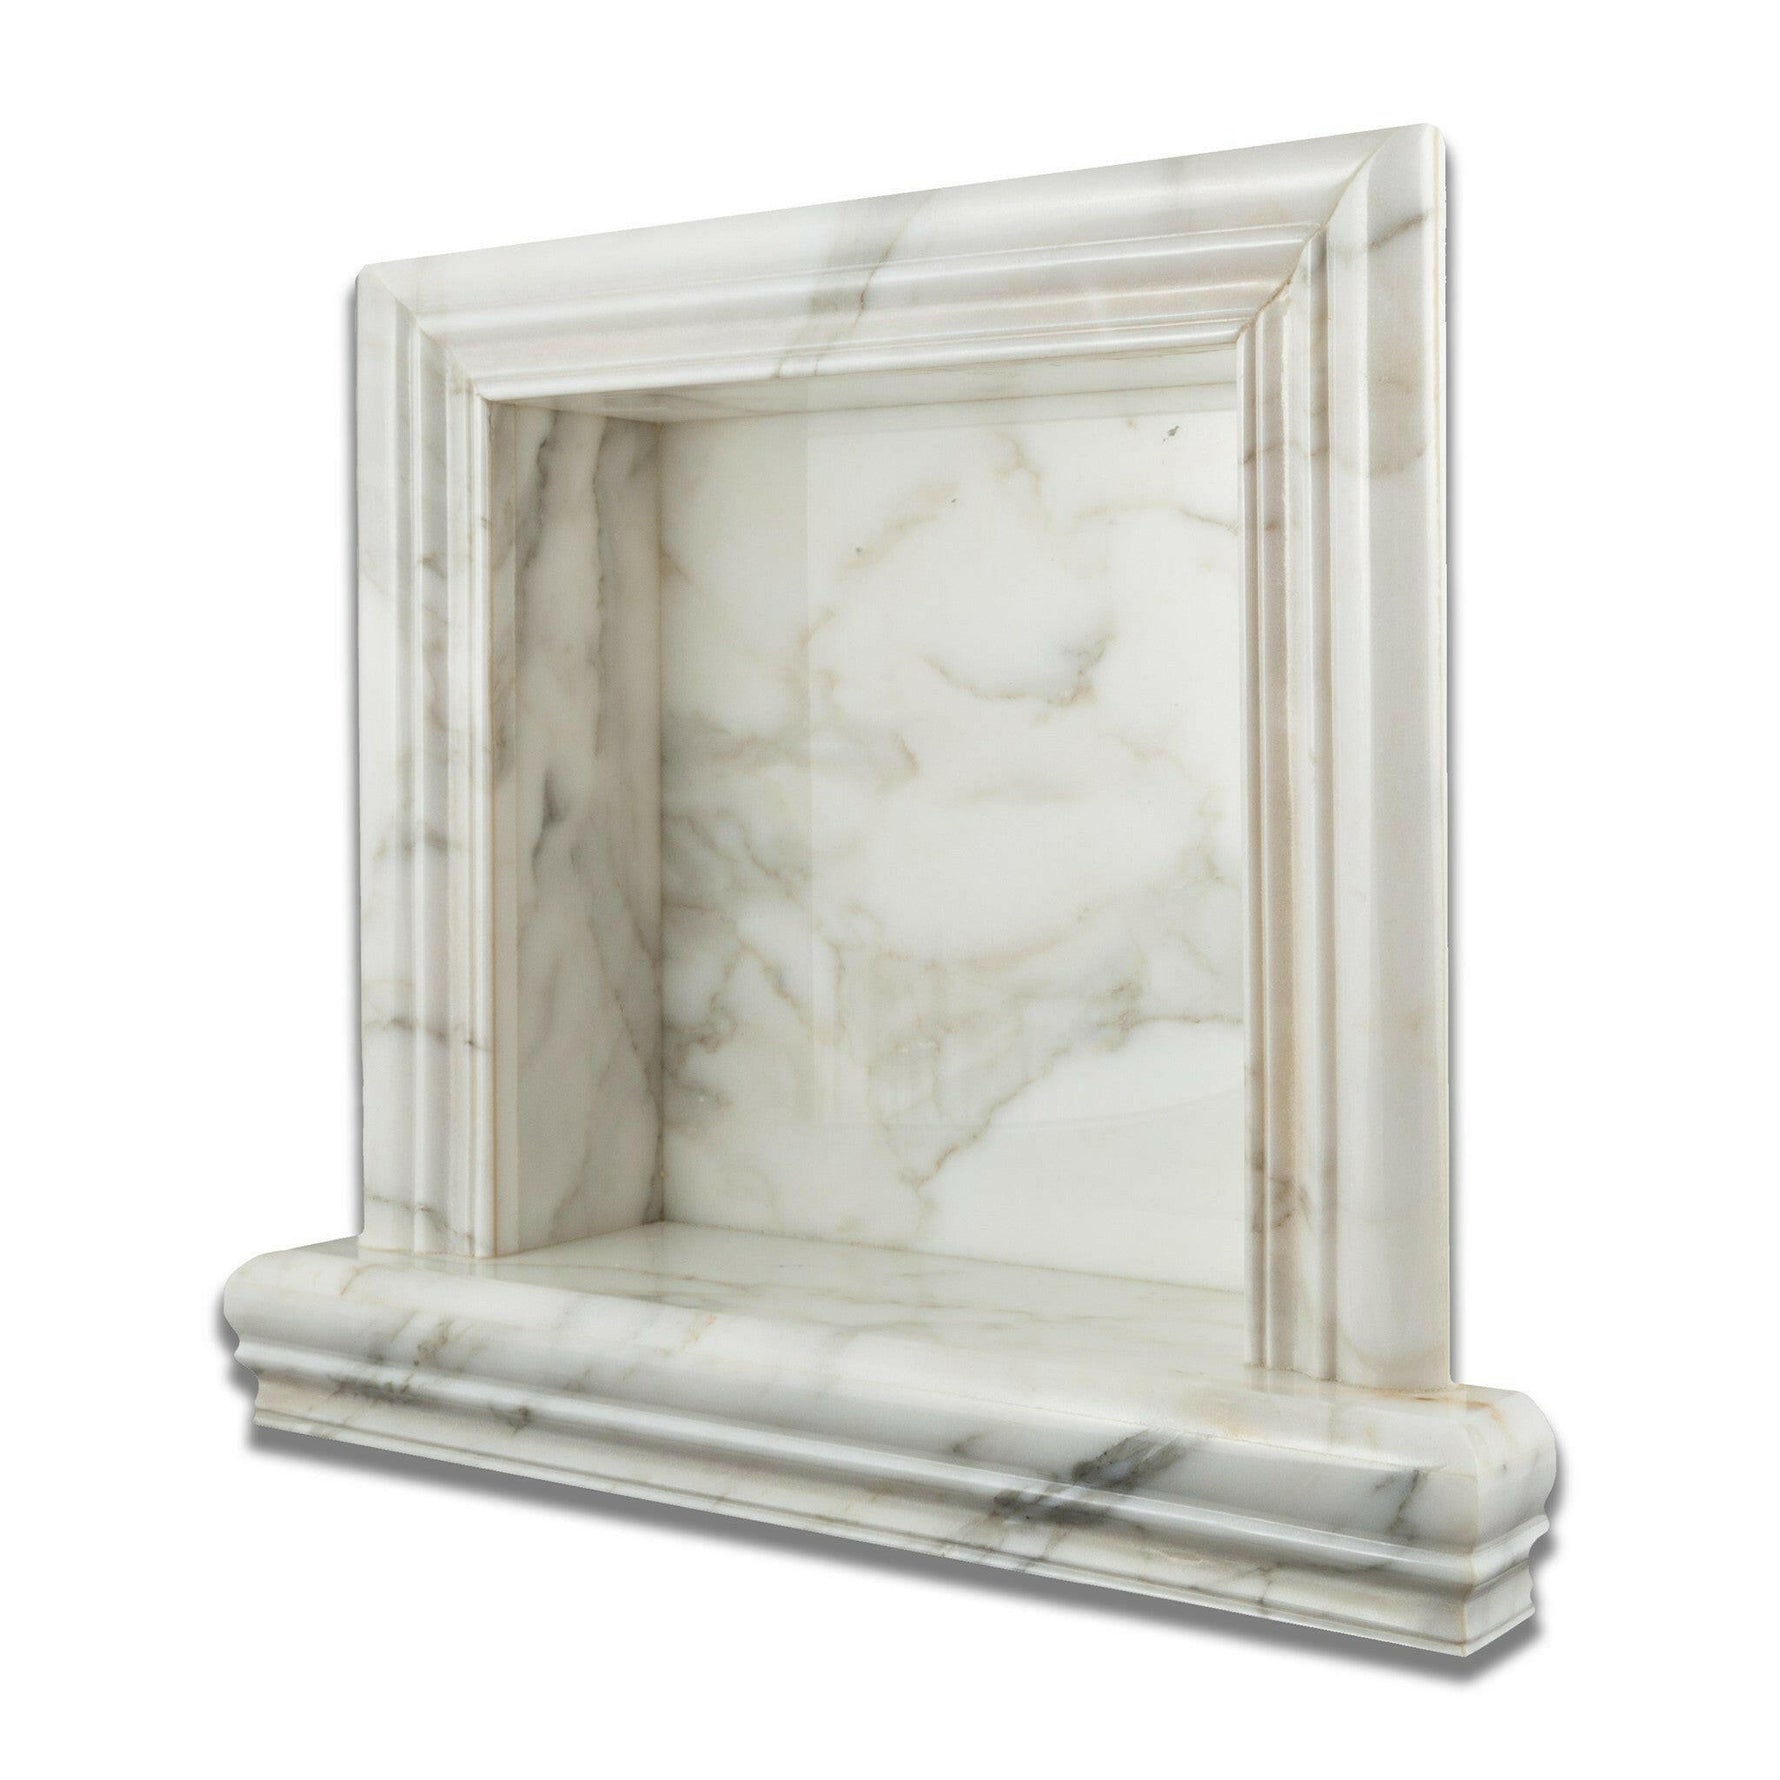
A Simple Guide for Marble Installation
Preparing for Marble Installation
-
Surface Preparation:
Before starting the installation, ensure that the subfloor or surface is clean, dry, and level. If necessary, patch any cracks or uneven areas and allow the repair material to cure fully. A well-prepared surface helps the marble adhere properly and prevents issues down the line. -
Gathering Tools and Materials:
In addition to a trowel, adhesive, and spirit level, you may also need tile spacers, a wet saw with a diamond blade (for cutting or trimming marble pieces), safety gear (gloves, protective eyewear), and a bucket for mixing or holding water if you plan to use a wet saw. -
Plan the Layout:
It’s helpful to lay out the marble tiles in a “dry run” before adhering them to the surface. This way, you can see how the pattern or veining aligns and make adjustments as needed. Mark the reference lines using a chalk line or pencil to keep your design symmetrical.

Steps for Installing Marble Tiles
-
Apply the Adhesive:
Spread a thin, even layer of a suitable marble adhesive (often a white thinset mortar is recommended to avoid discoloration) over the surface using the notched side of your trowel. -
Position the Tiles:
Place the marble tiles carefully, leaving consistent gaps for grout lines. Use tile spacers to maintain uniform spacing if needed. Be mindful of marble veining and patterns to achieve a cohesive look. -
Check for Level and Alignment:
Use a spirit level frequently to ensure the tiles are flat and even. If a tile sits too high or too low, gently lift it and adjust the adhesive underneath. -
Allow the Adhesive to Dry:
Follow the manufacturer’s instructions regarding drying/curing time. Try not to walk on or disturb the newly laid tiles during this period, as movement can cause misalignment. -
Apply the Grout:
Once the adhesive has fully cured, fill the joints with a suitable grout. Clean off any excess grout from the tile surfaces before it hardens to avoid stubborn residue. -
Seal the Marble (Optional but Recommended):
Many marble types benefit from a sealant applied after the grout has dried. This step helps protect the marble from stains, moisture penetration, and wear. Follow the sealant manufacturer’s instructions for the best results.
Tips for Maintaining Installed Marble
-
Regular Cleaning:
Clean marble surfaces with a pH-neutral or specially formulated marble cleaner. Avoid using abrasive or acidic products (like vinegar or lemon juice) which can dull or etch the surface. -
Avoid Scratches and Stains:
Place mats or rugs in high-traffic areas to protect the marble. Always use soft, non-abrasive cloths or mops when wiping up spills. Promptly clean up any spills, especially those containing acidic substances like coffee or wine. -
Sealing and Resealing:
If you choose to seal your marble, reseal according to the recommended schedule (often once or twice a year, depending on usage). A simple water drop test can help you gauge if resealing is needed: if water darkens the marble or is quickly absorbed, it’s time to reseal. -
Gentle Polishing:
Over time, marble may lose some of its shine. Consider a professional polishing or buffing service if you notice dull spots, or use a marble-friendly polish to restore its luster.

