


A Simple Guide for Soap Holder Installation
Why Install a Soap Holder?
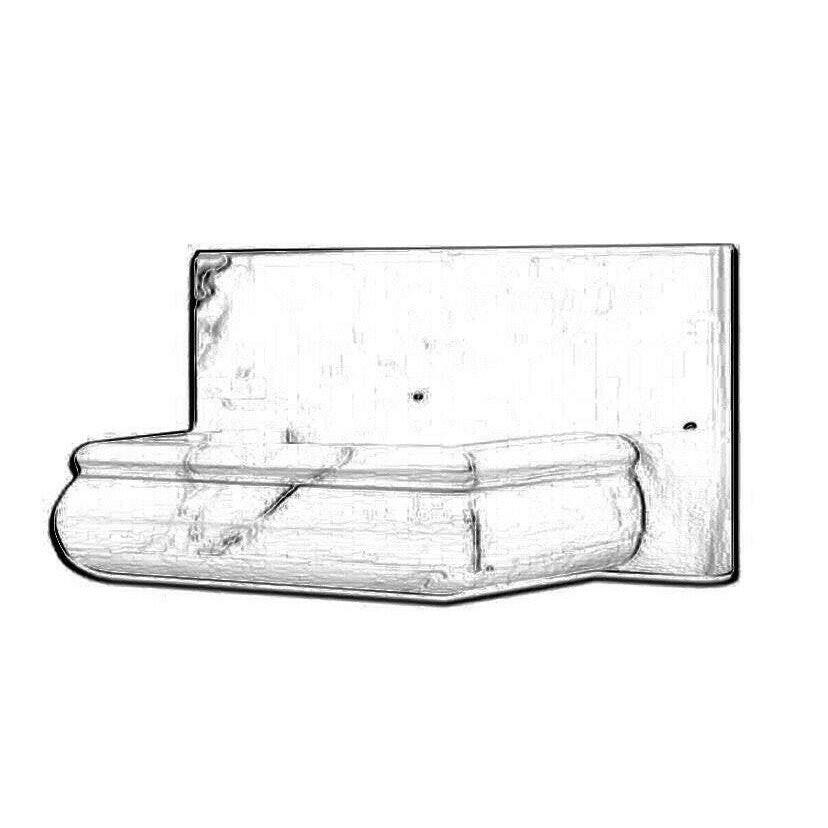
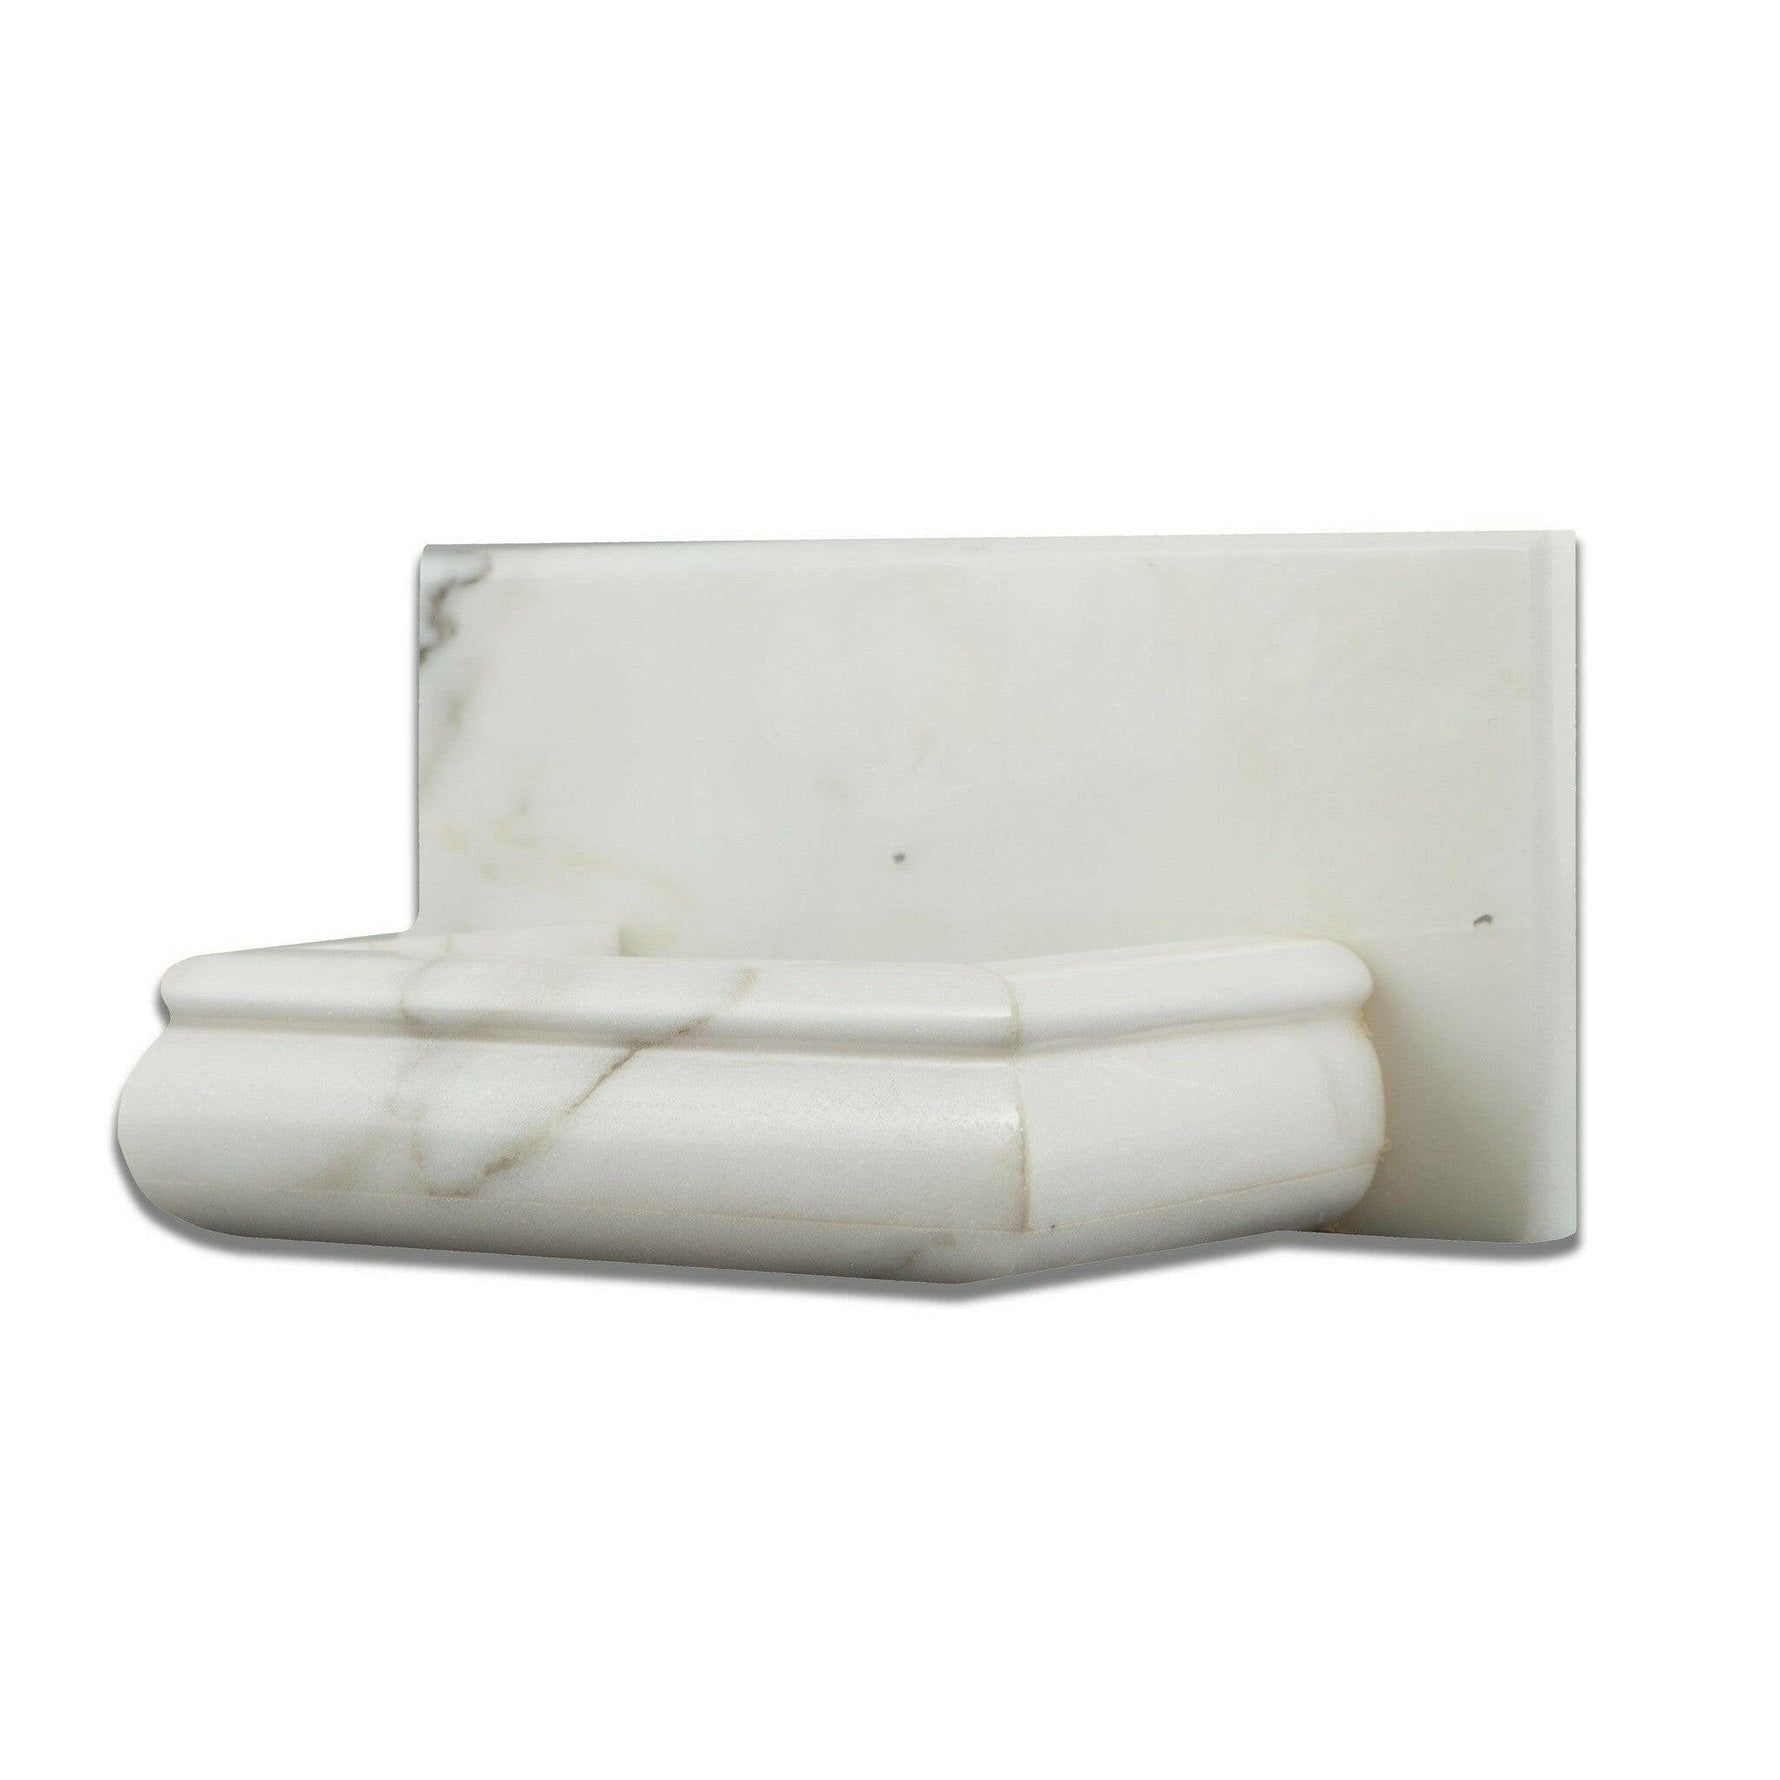
A soap holder is a practical addition to any bathroom, helping to keep soap dry and your sink area tidy. Beyond functionality, it adds an organized and polished look to your bathroom décor. With the variety of styles and materials available, you can choose a soap holder that complements your overall design aesthetic.
Steps to Install a Soap Holder
Installing a soap holder is simple with the right tools and method. Follow these steps:
1. **Select the Location:** Choose a spot in the shower or by the sink that is easy to access.
2. **Clean the Surface:** Ensure the installation surface is clean and dry for proper adhesion or mounting.
3. **Mark the Placement:** Use a pencil to mark where the holder will be placed. Double-check the alignment.
4. **Attach the Holder:** For adhesive holders, apply the adhesive evenly and press firmly. For screw-mounted holders, drill pilot holes, insert anchors if needed, and screw the holder into place.
5. **Allow to Set:** For adhesive installations, allow the adhesive to cure as per the manufacturer’s instructions.
Tips for a Successful Installation
• Use waterproof adhesive for installations in the shower to ensure durability.
• Match the material and color of the soap holder with other bathroom fixtures for a cohesive look.
• Test the holder’s stability before placing soap on it.
Creative Uses for Soap Holders
Soap holders can also be repurposed creatively. For example, use them to store small items like jewelry or keys by the sink or entrance.